Testing activity in Android Studio. Part 1.
In this tutorial we will learn how to:
- Create a new project in Android Studio.
- Create new test configuration and run the tests.
- Write tests for basic UI interactions in activity.
This tutorial is updated for Android Studio version 2.1.
I assume you already know
For this tutorial you will need to have Android Studio installed and know how to run an app. Please refer to the excellent Building Your First App tutorial from Google.
Greeter app
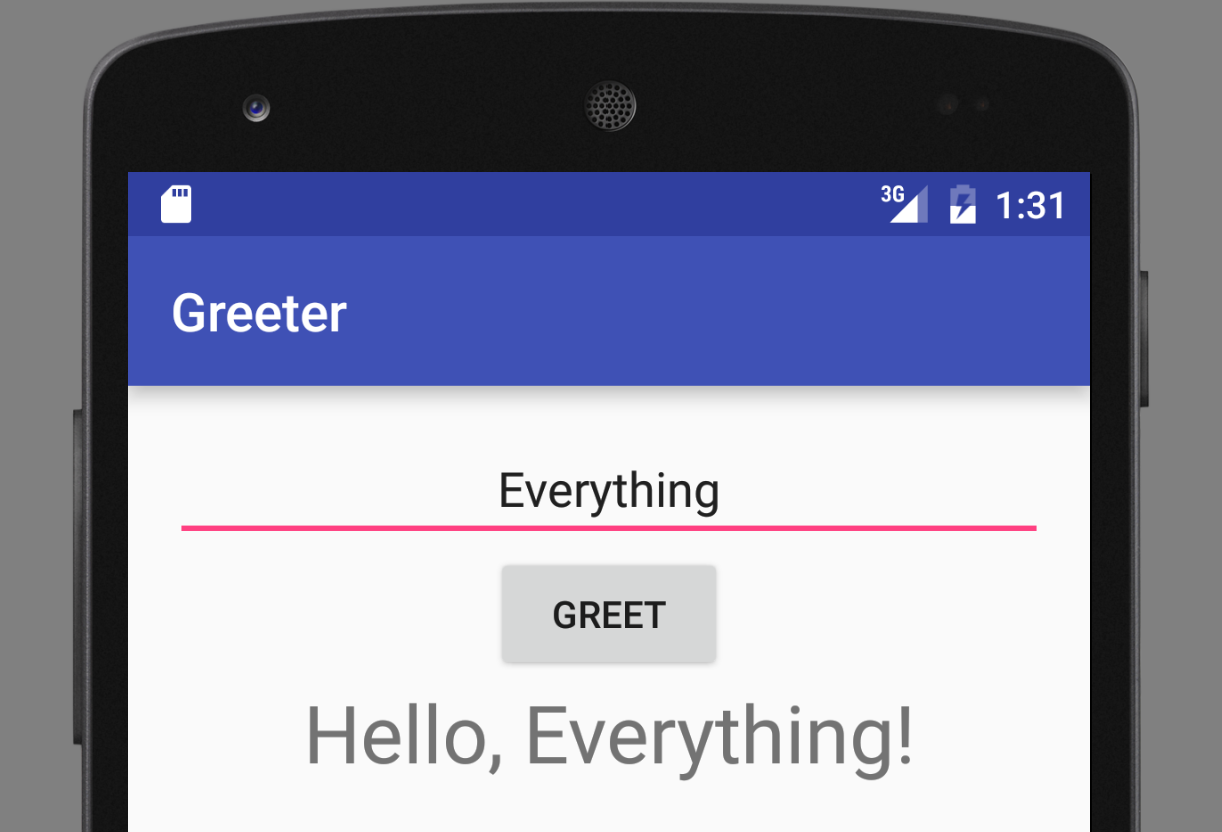
We will create an app called “Greeter”. It has a text input and a “Greet” button. In this app user enters a name and taps the “Greet” button. The app shows a greeting message.
1. Let’s get started: create a project in Android Studio
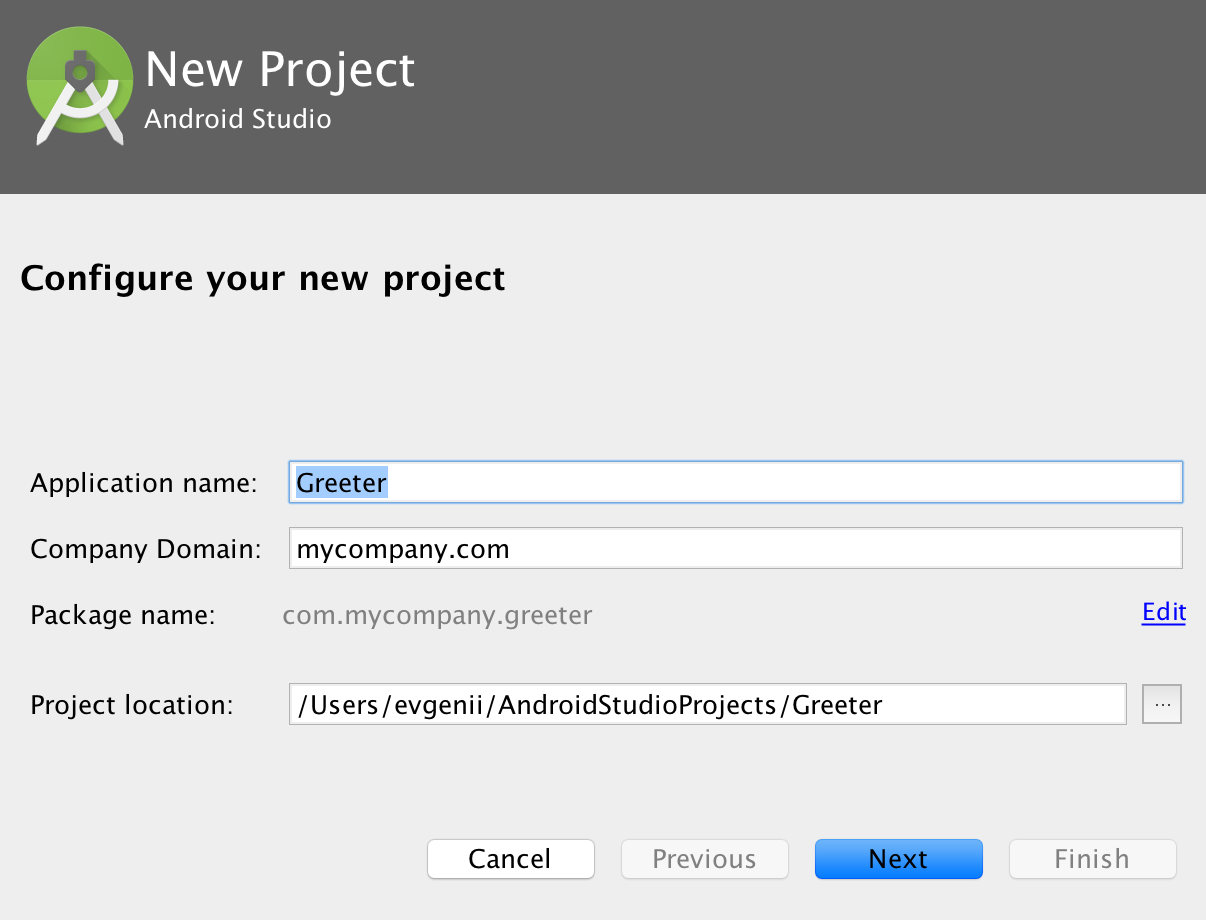
- Open Android Studio and create a new project: File > New > New Project.
- Enter Greeter in Application Name and mycompany.com in Company Domain.
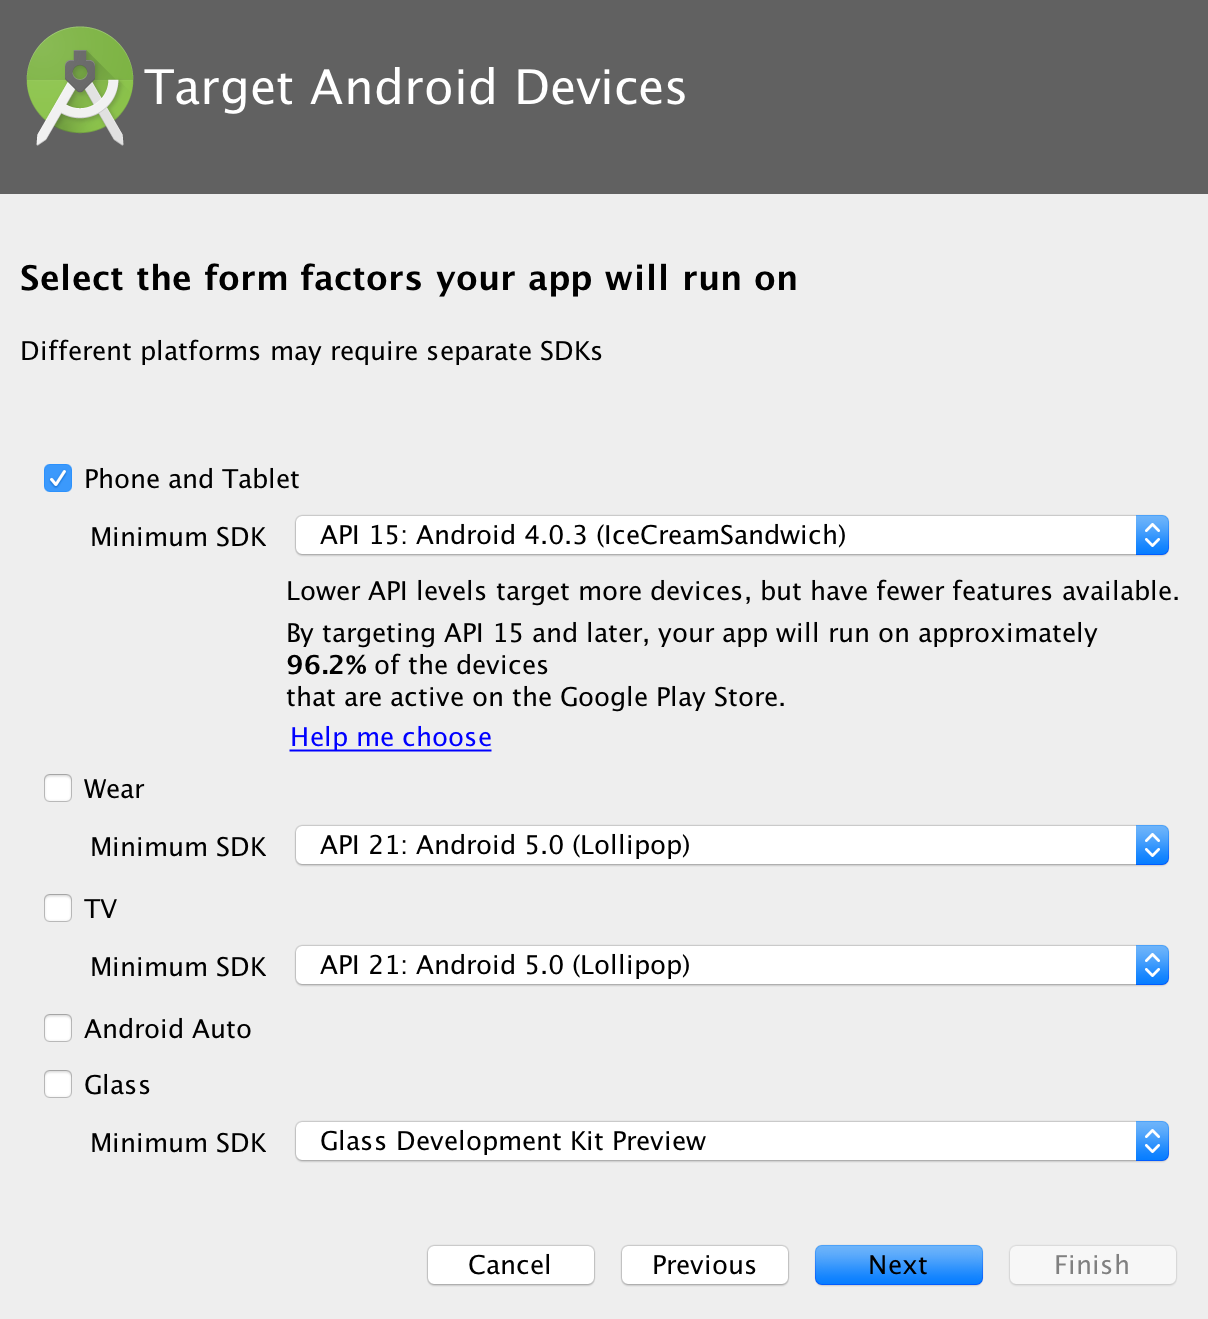
Accept the default settings on “Target Android Devices” screen with just “Phone and Tablet” option selected.
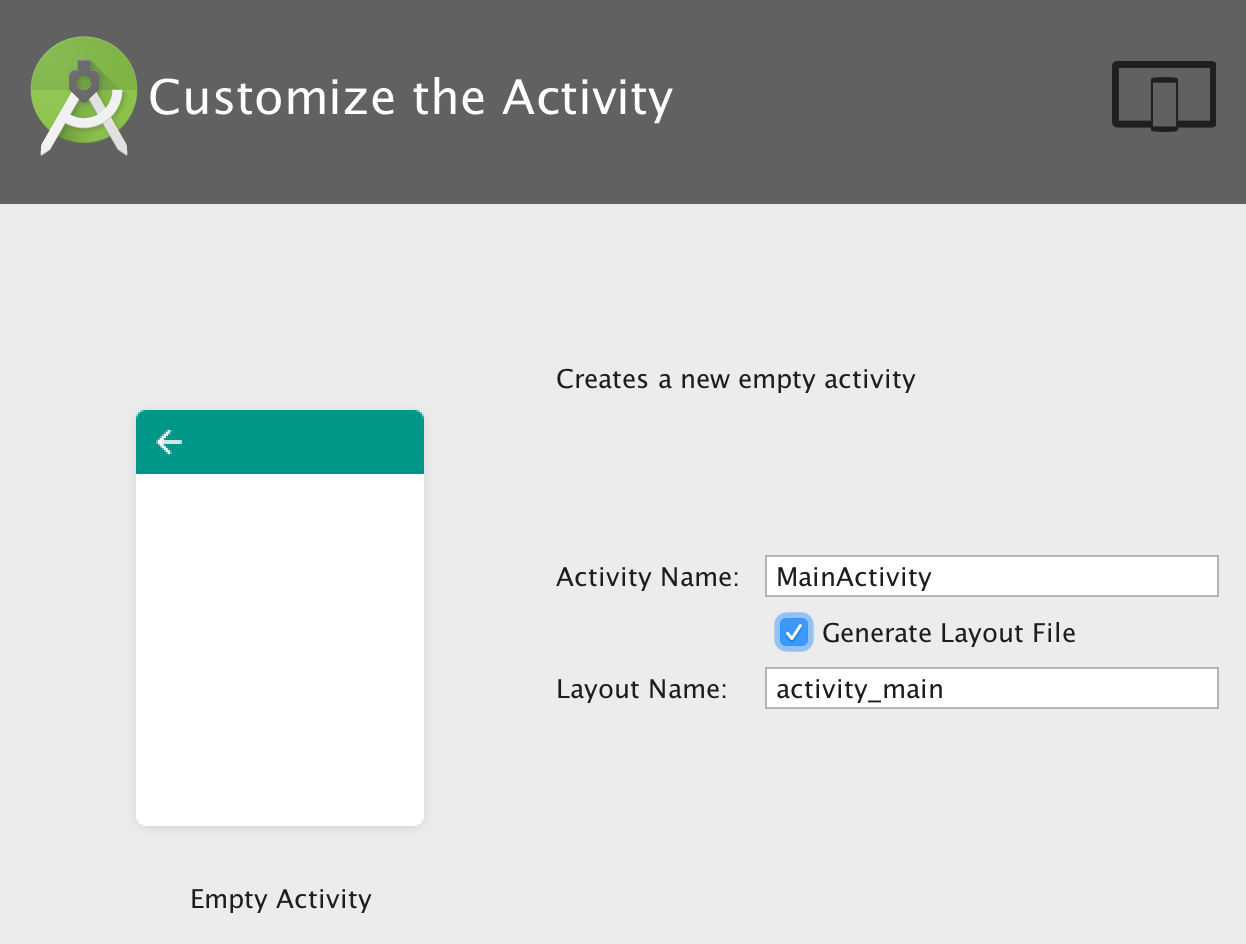
Select a Empty Activity.

Next, keep default activity name: MainActivity. This name will be used in our code later.
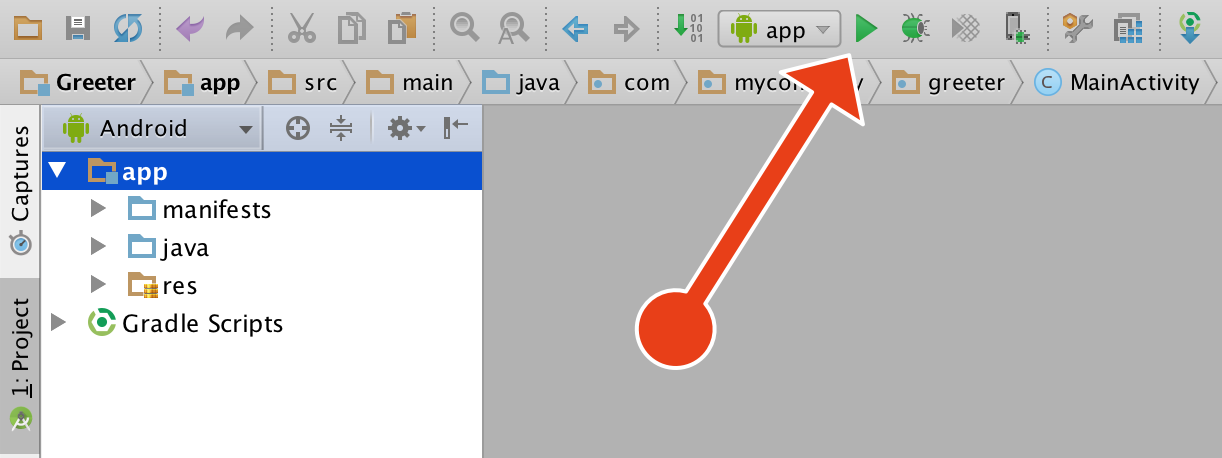
Finally, click Finish and give Android Studio a minute to setup your project. When it’s done run the app by clicking the green start icon on the toolbar.
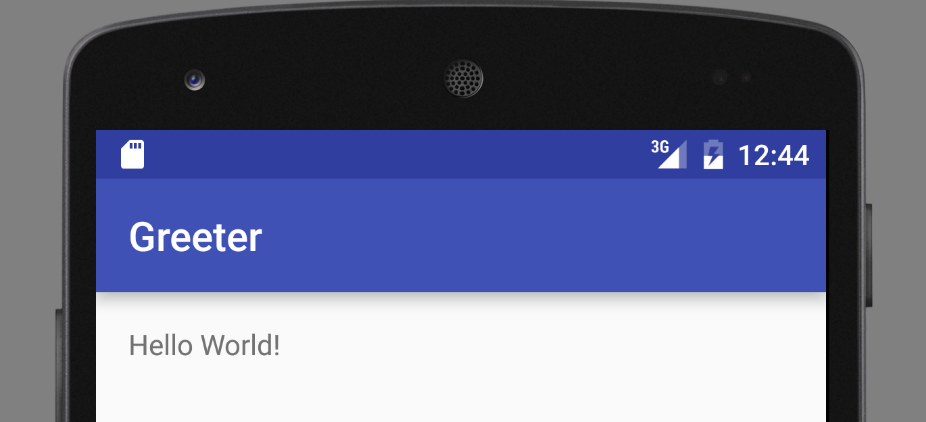
You will see the app on your device or emulator. It will have an empty screen with “Hello world!” message. Beautiful!
2. Create test configuration and run tests
We need to create a test configuration the first time we run the tests. There are already tests created by the New Project Wizard. Let’s run them.
- In your project window expand app > java folders.
- You will see three packages with the same name com.mycompany.greeter. The second one will have (androidTest). Right-click on that one.
- Select Run ‘Tests in ‘com.mycomp…‘ from the context menu.
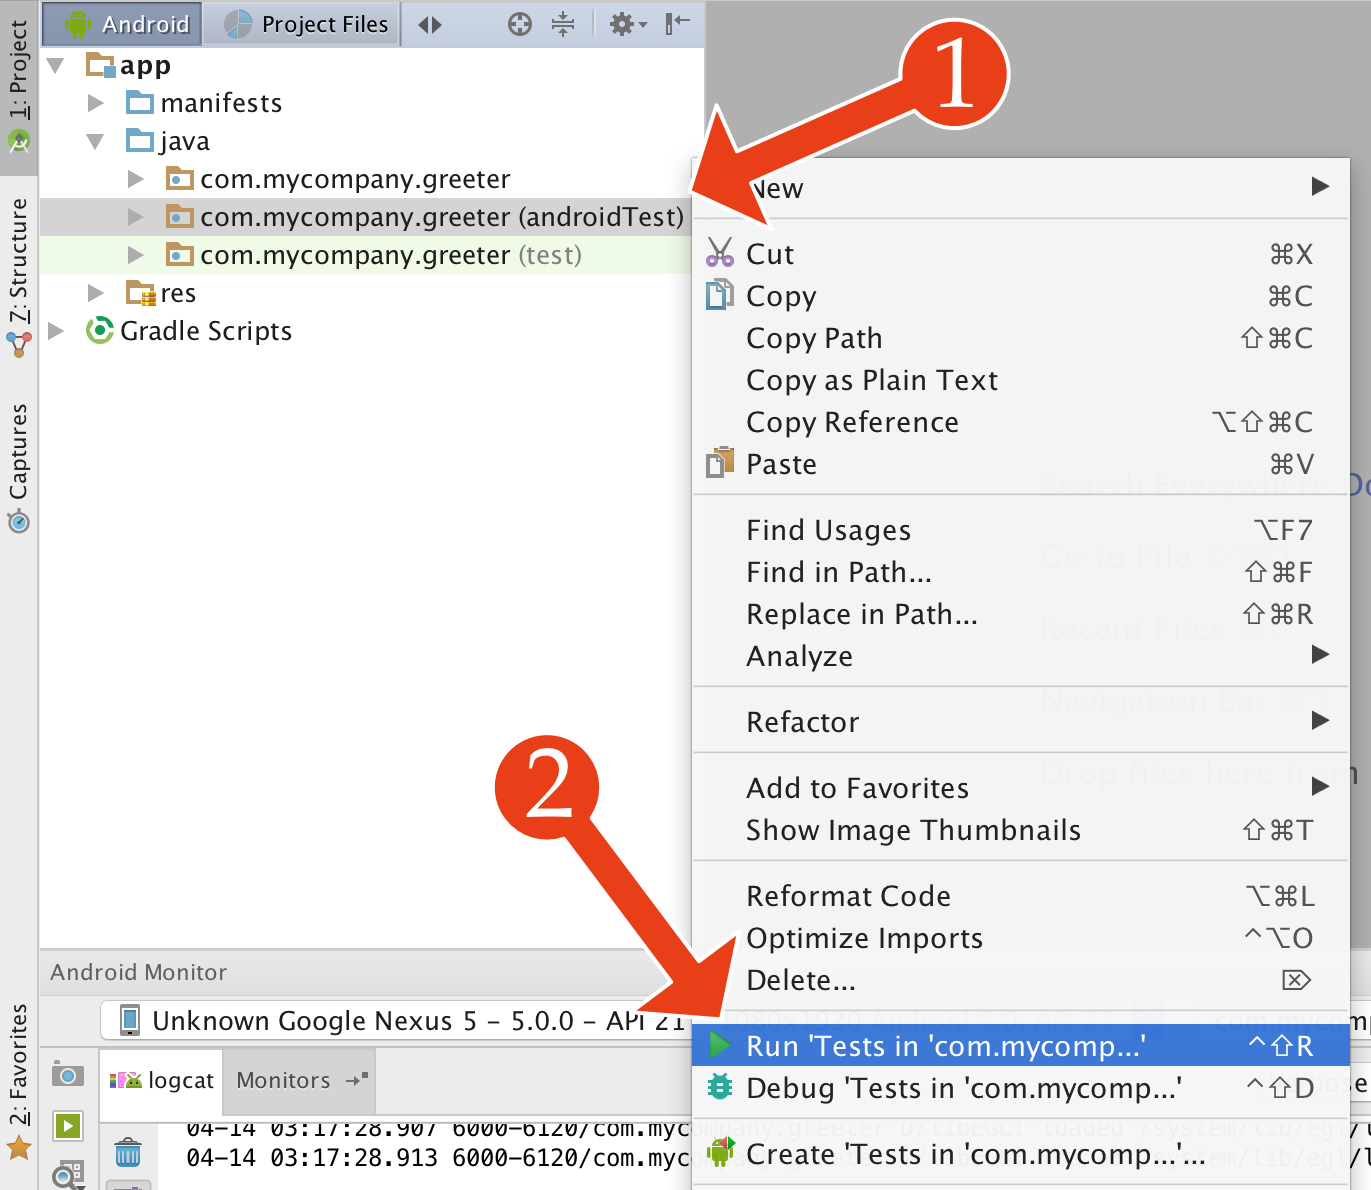
- Finally, select your device or emulator in the next dialog and it will run the tests.
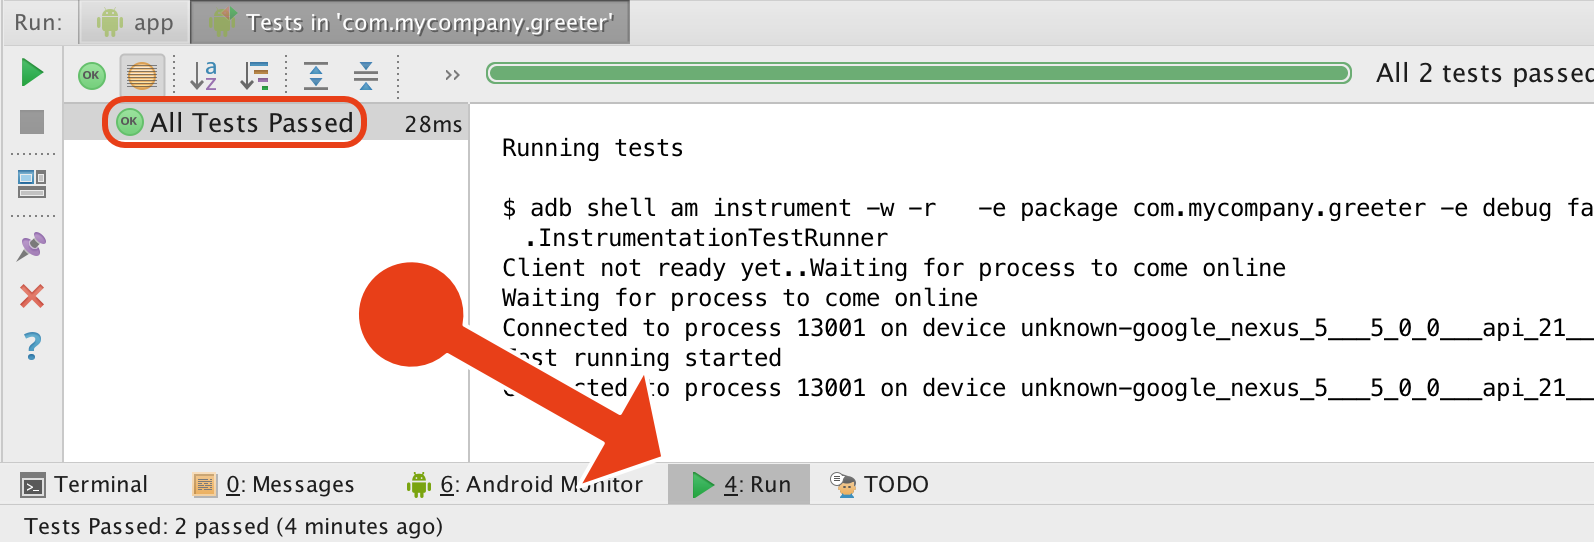
View test results
You will see a lot of green colour in the Run tool window. It means the tests passed successfully. If your Run window is closed click the Run button on the bottom panel or select View > Tool Windows > Run from the main menu.
Switch between App and Test configurations
We have created configuration for testing and can now use it any time we want to run our tests.
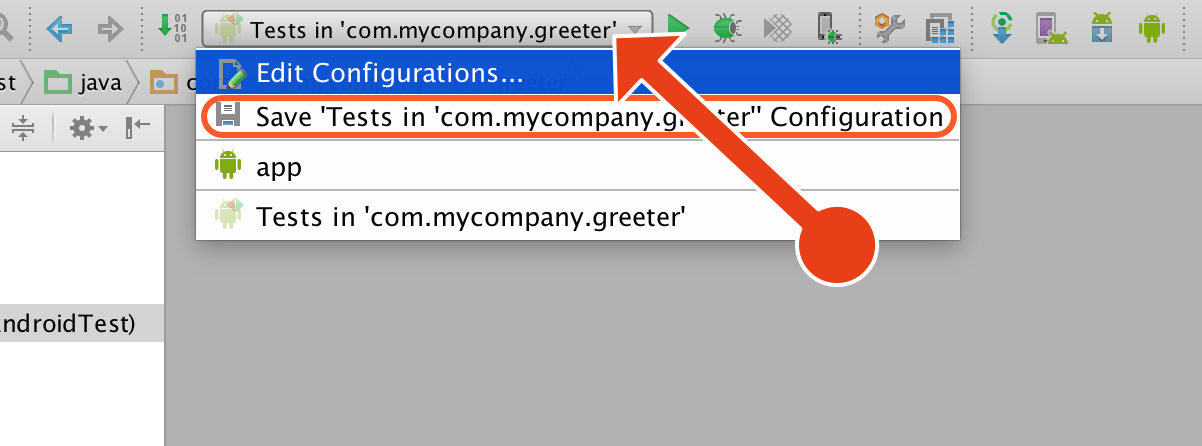
Click the configuration dropdown menu located next to the run button on the toolbar. You will see app and Test in `com.myapp.. configurations there. This is how we can switch between running the app and tests.
Click Save ‘Tests ‘com.mycompany.Greeter’’ Configuration item from the menu to save the test configuration that you just created.
Test configuration (under the hood)
If you are curious how the Test Configuration works open Run > Edit Configurations from the main menu.
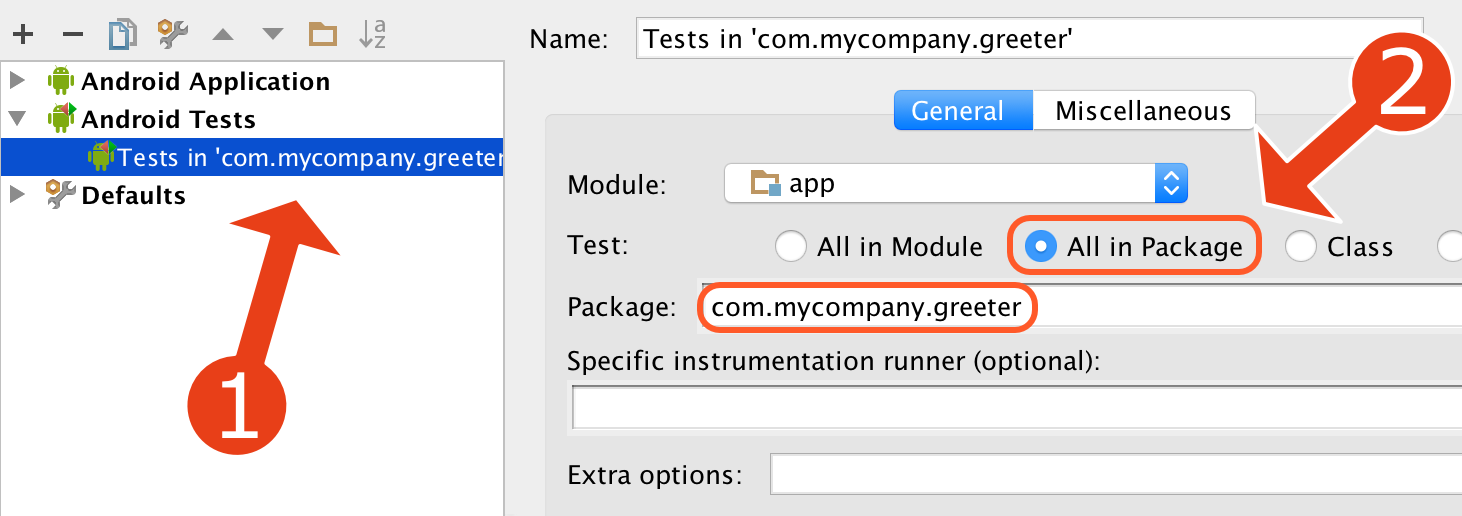
In configurations dialog, expand Android Tests group and select Tests in ‘com.mycompany.greeter’ configuration.
You will see the following settings:
- app module is selected.
- All in Package radio box is selected.
- The package name is com.mycompany.greeter.
It means that this configuration will run all the tests in com.mycompany.greeter package.
What’s next?
Cool! We have created an app project and a test configuration. Next we will write our first test.
Reference
- Part 1, Part 2 and Part 3 of this tutorial.
- Sample Code for the Greeter app
- Building Your First App - Android Developers